Welcome to the ultimate guide on ADA grab bar placement, where we delve into the importance of safety and accessibility for all. Whether you are a contractor, or business owner, understanding the guidelines set forth by the Americans with Disabilities Act (ADA) is crucial in creating an inclusive environment that accommodates individuals with disabilities. In this comprehensive guide, we will explore the proper placement of grab bars in various areas such as bathrooms, showers, and other spaces to ensure maximum safety and convenience. By adhering to these guidelines, not only will you be complying with legal requirements, but you will also be enhancing the overall experience and accessibility for everyone. So, let's dive in and discover the ultimate tips and tricks to make your spaces safe, accessible, and welcoming for all individuals.
*** NOTE: This article pertains primarily to commercial applications, public spaces, and public housing applications - a vastly modified approach must be taken for privately owned homes ***
Understanding the Importance of Safety and Accessibility
Safety and accessibility are fundamental rights that should be afforded to every individual, regardless of their physical abilities. For individuals with disabilities, navigating everyday spaces can be challenging, and that's where proper grab bar placement comes into play. By installing grab bars in key areas, we can provide support and stability, reducing the risk of accidents and promoting independence.
The ADA was enacted to eliminate discrimination against individuals with disabilities and ensure equal opportunities for all. The guidelines established by the ADA cover a wide range of areas, including grab bar placement. Understanding these guidelines is essential to create spaces that are safe and accessible to everyone, regardless of their physical limitations. Let's explore the ADA's guidelines for grab bar placement to ensure compliance and promote inclusivity.

ADA Guidelines for Grab Bar Placement
The ADA has specific requirements for grab bar placement to ensure safety and accessibility. These guidelines outline the appropriate height, length, and location of grab bars in various spaces. By following these guidelines, you can create an environment that accommodates individuals with disabilities and complies with legal requirements.
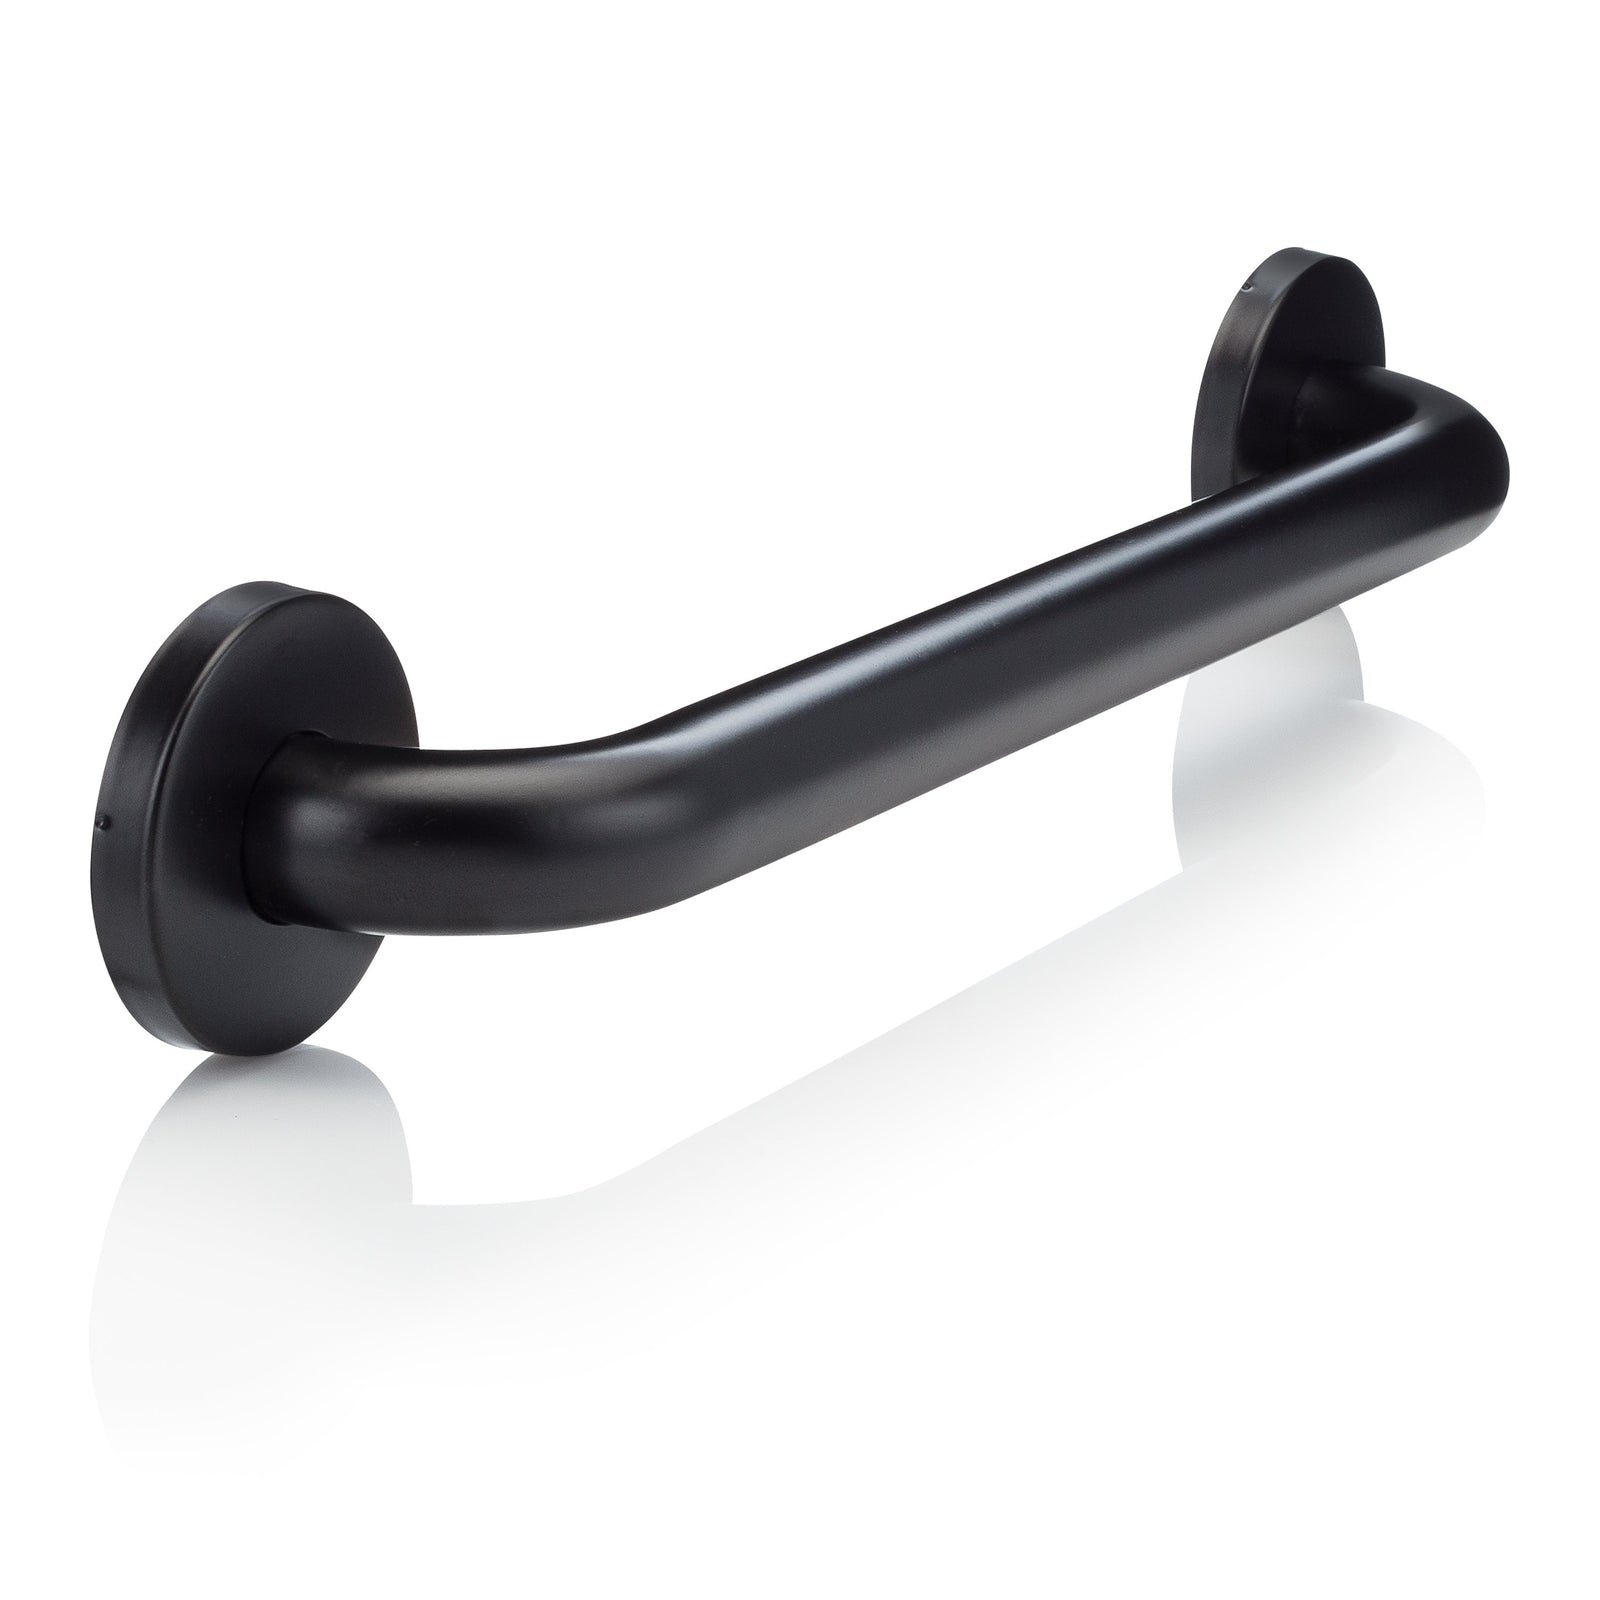
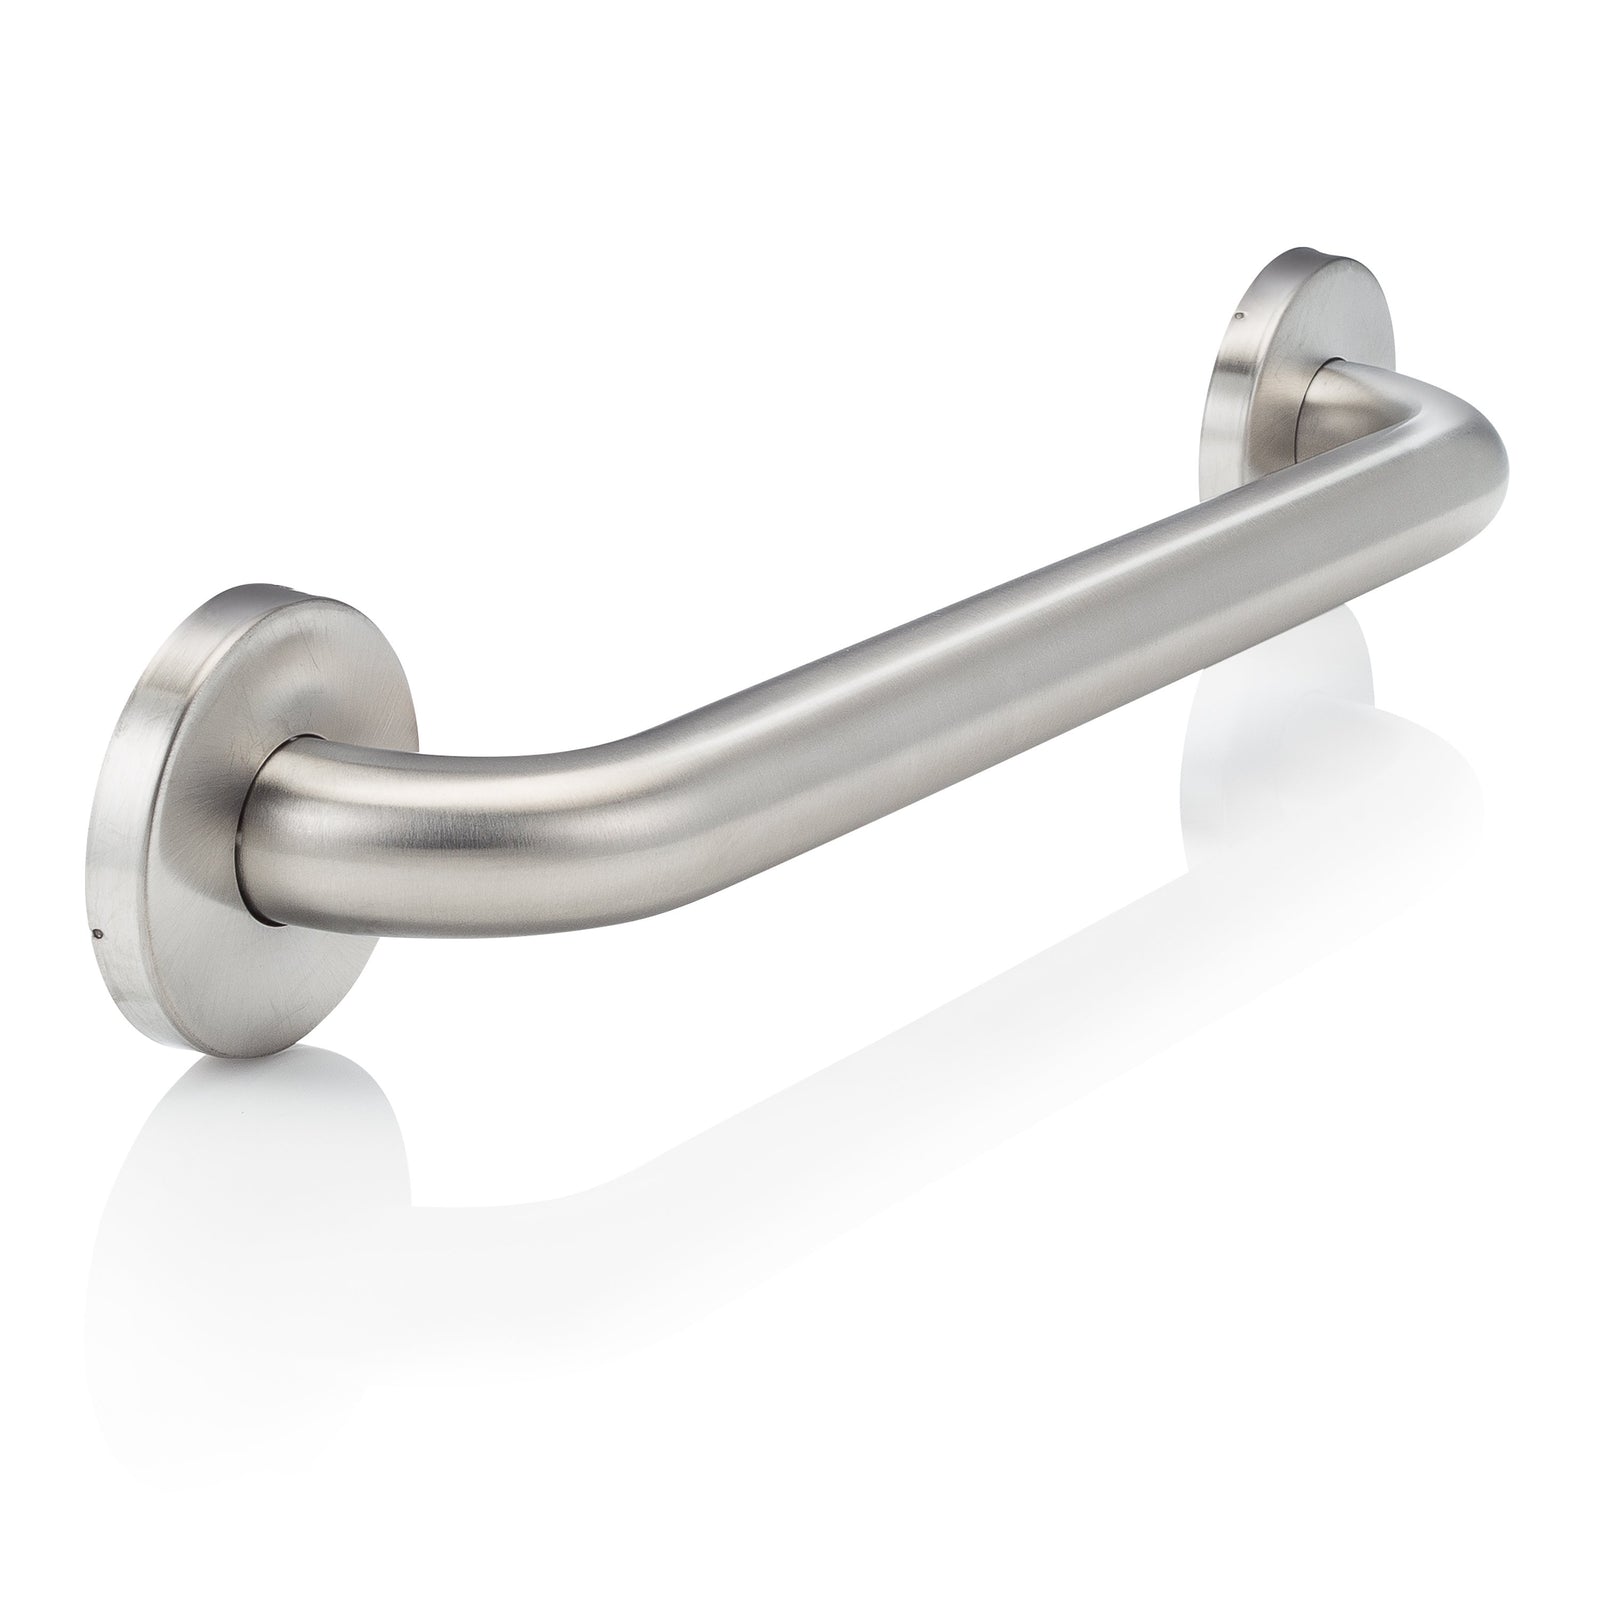
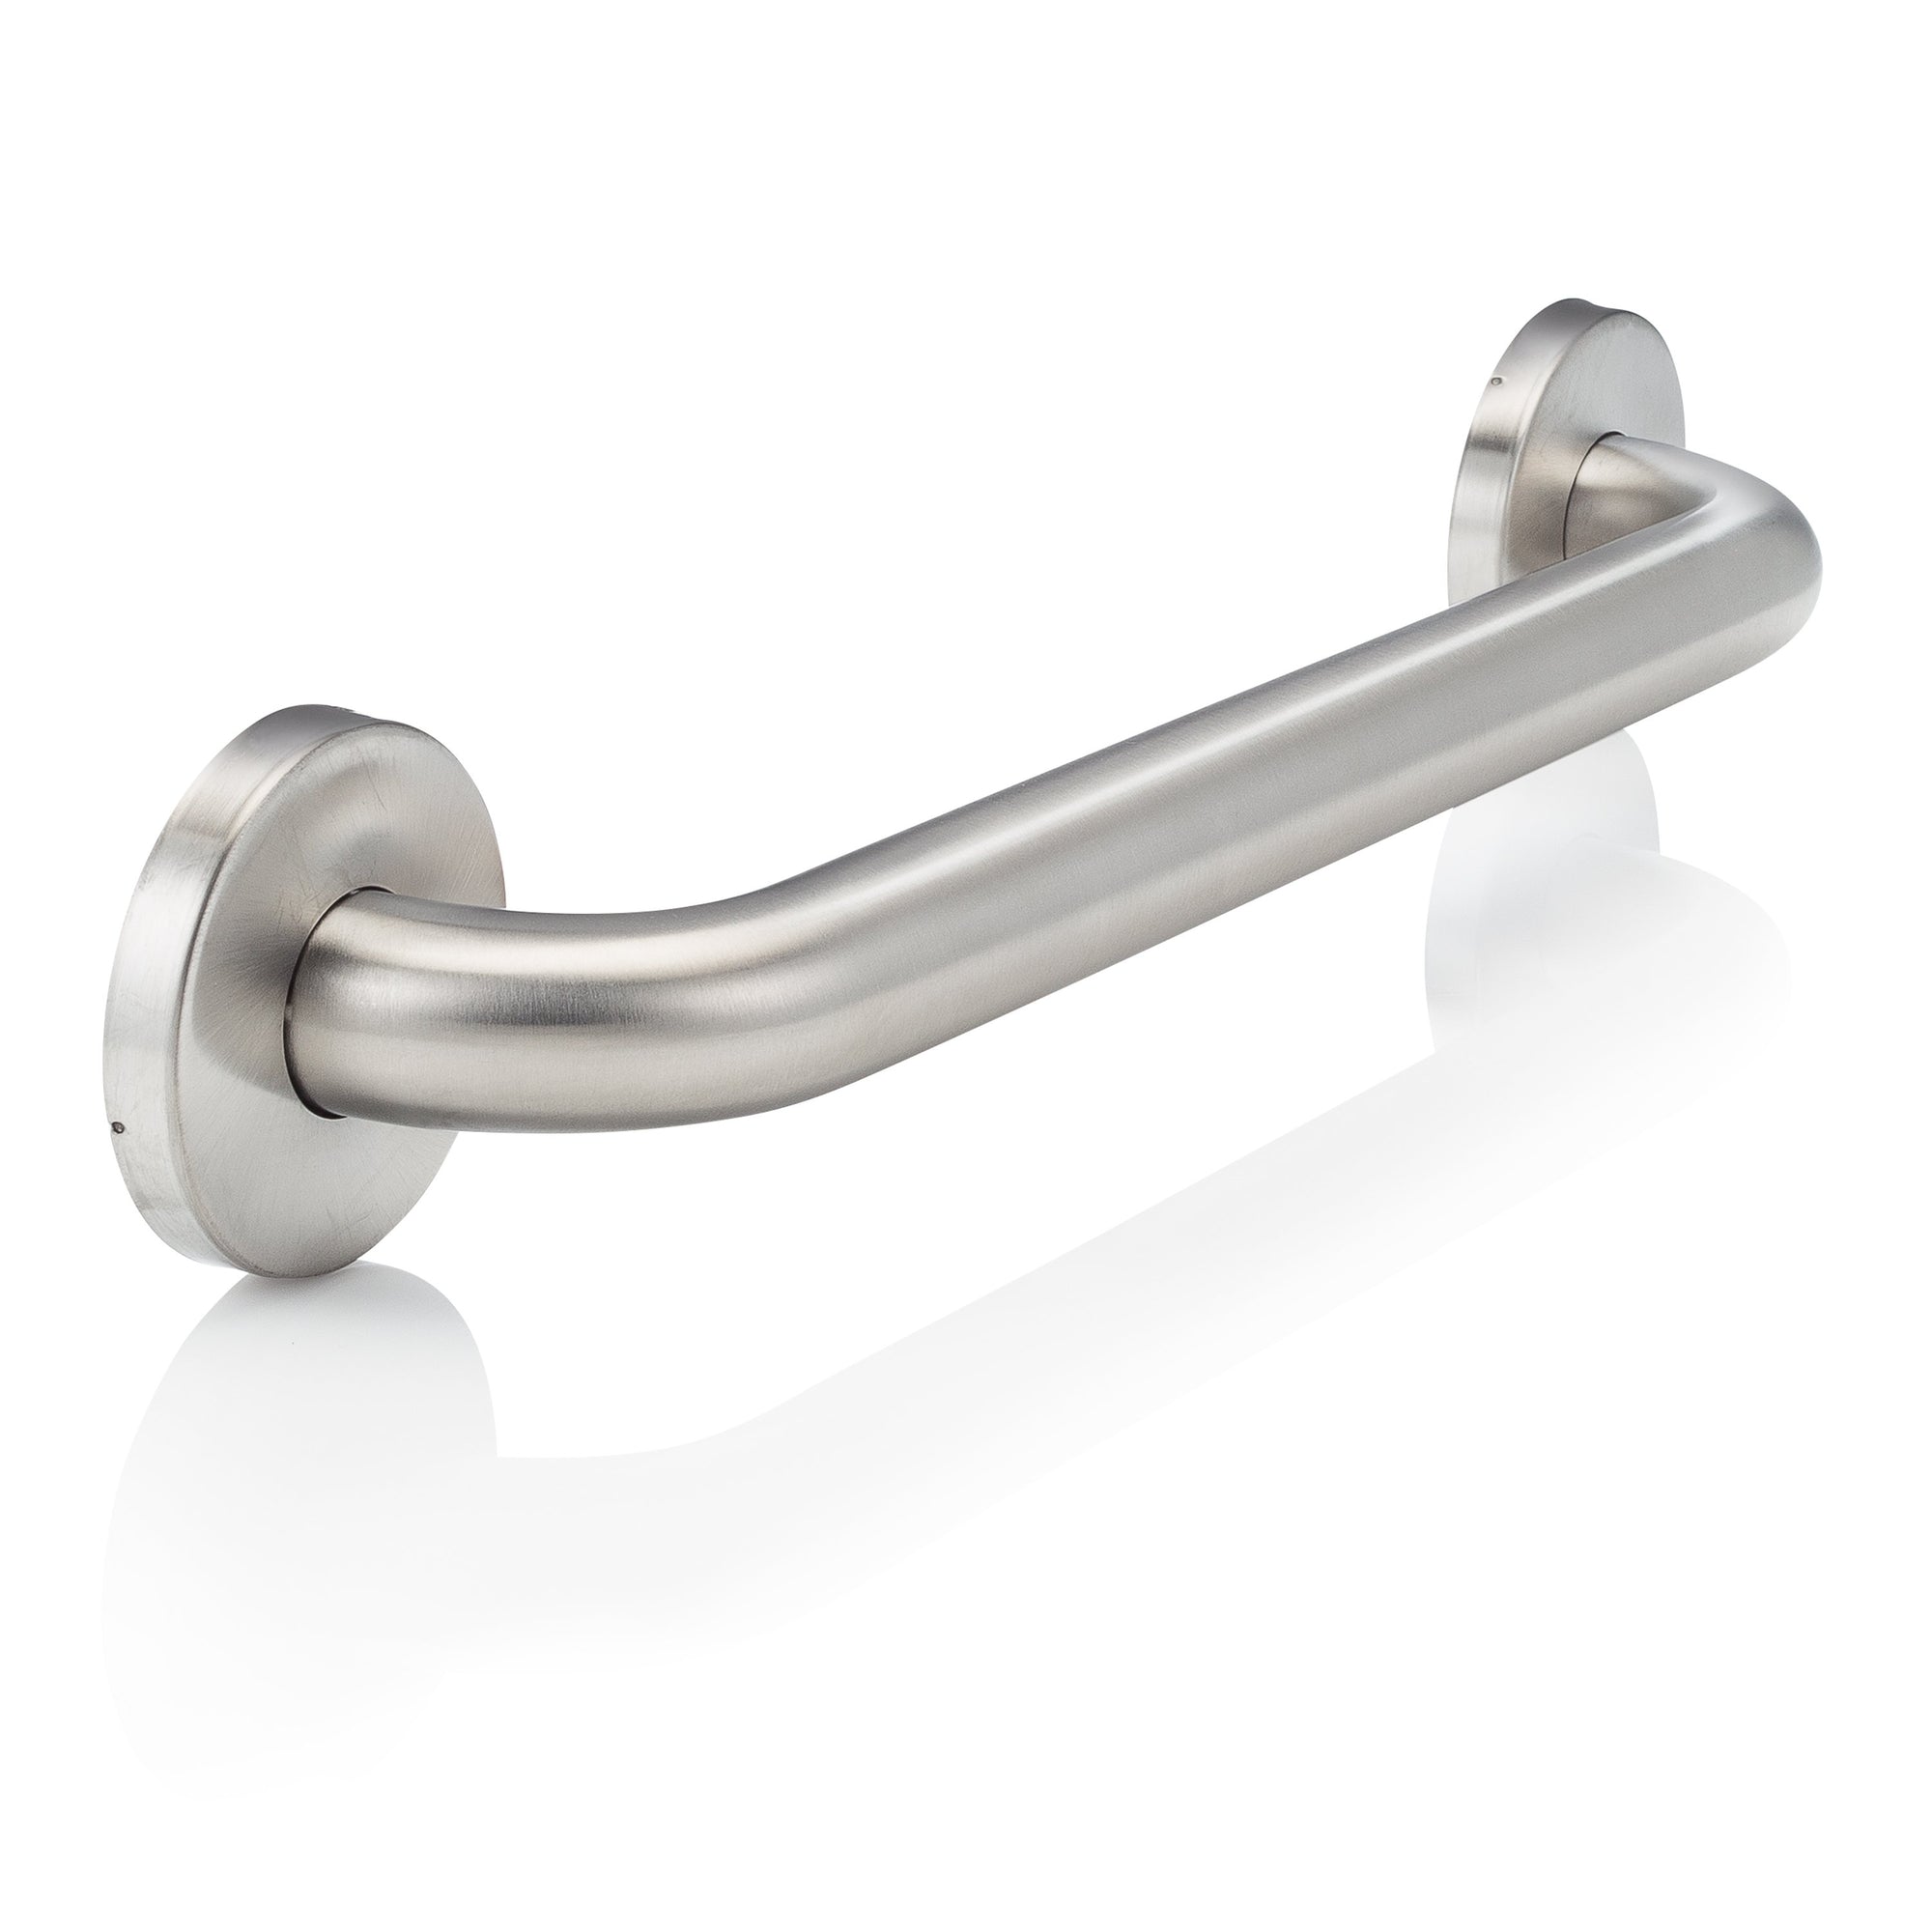
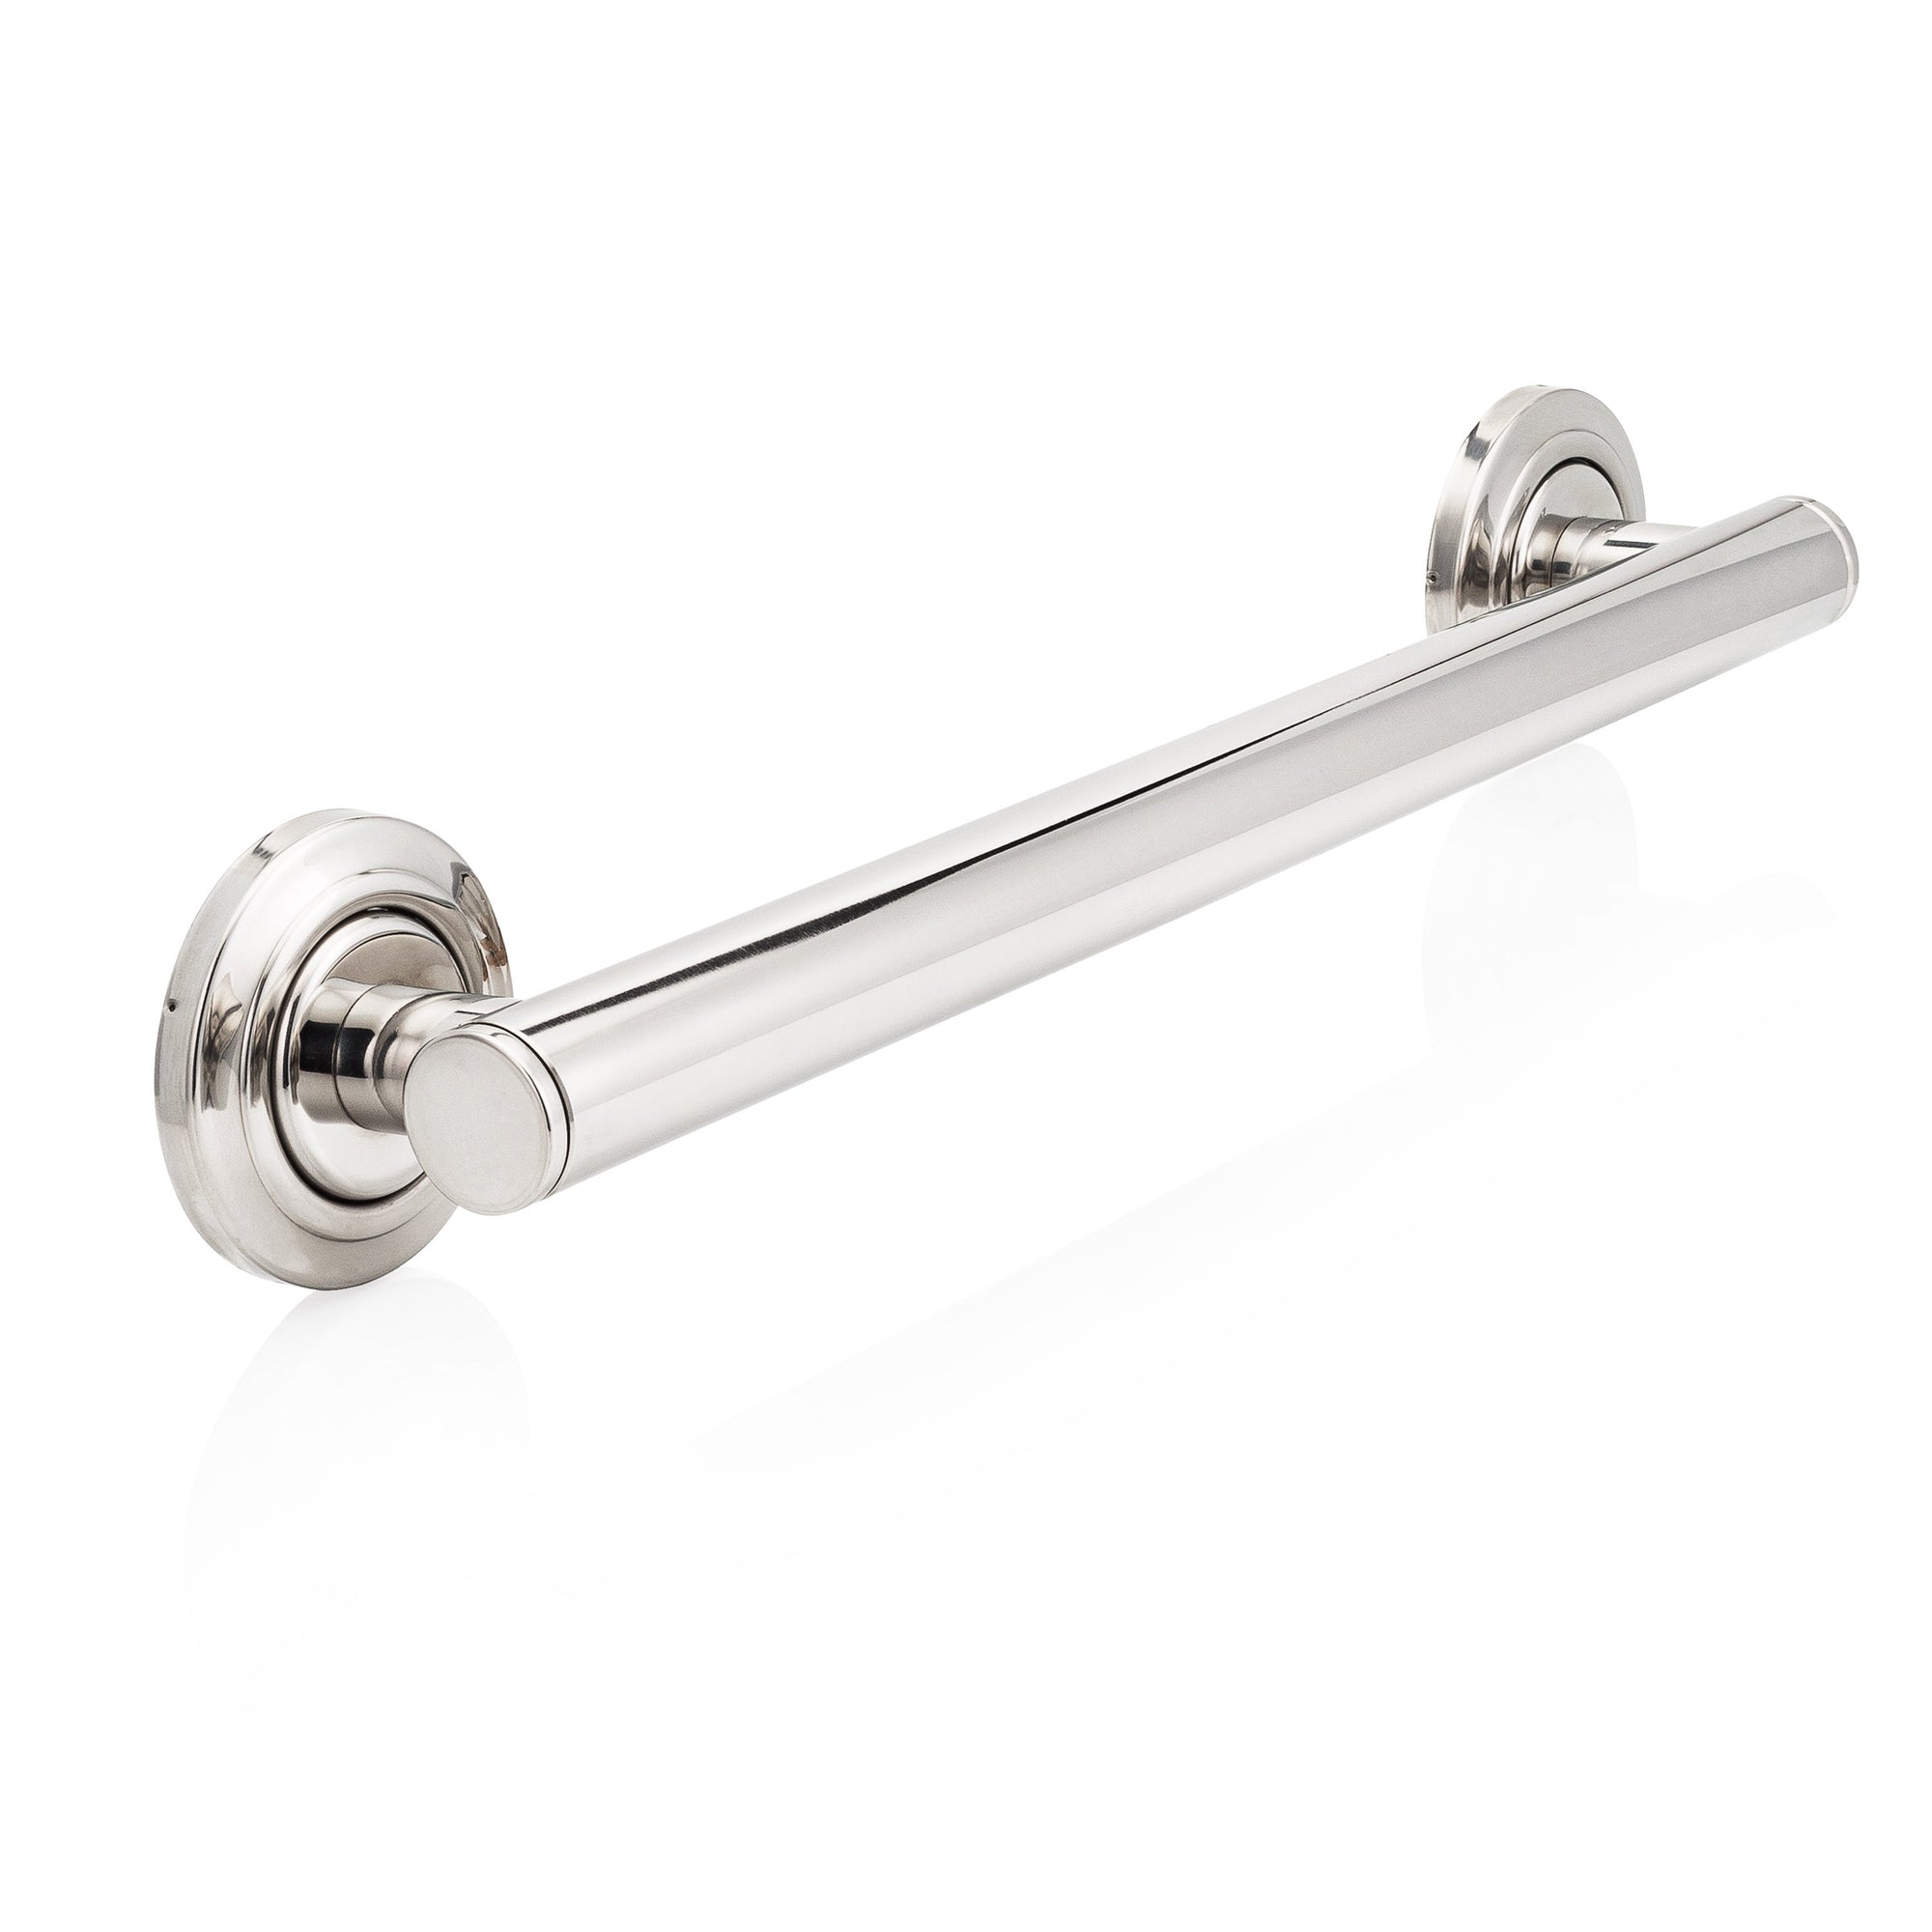
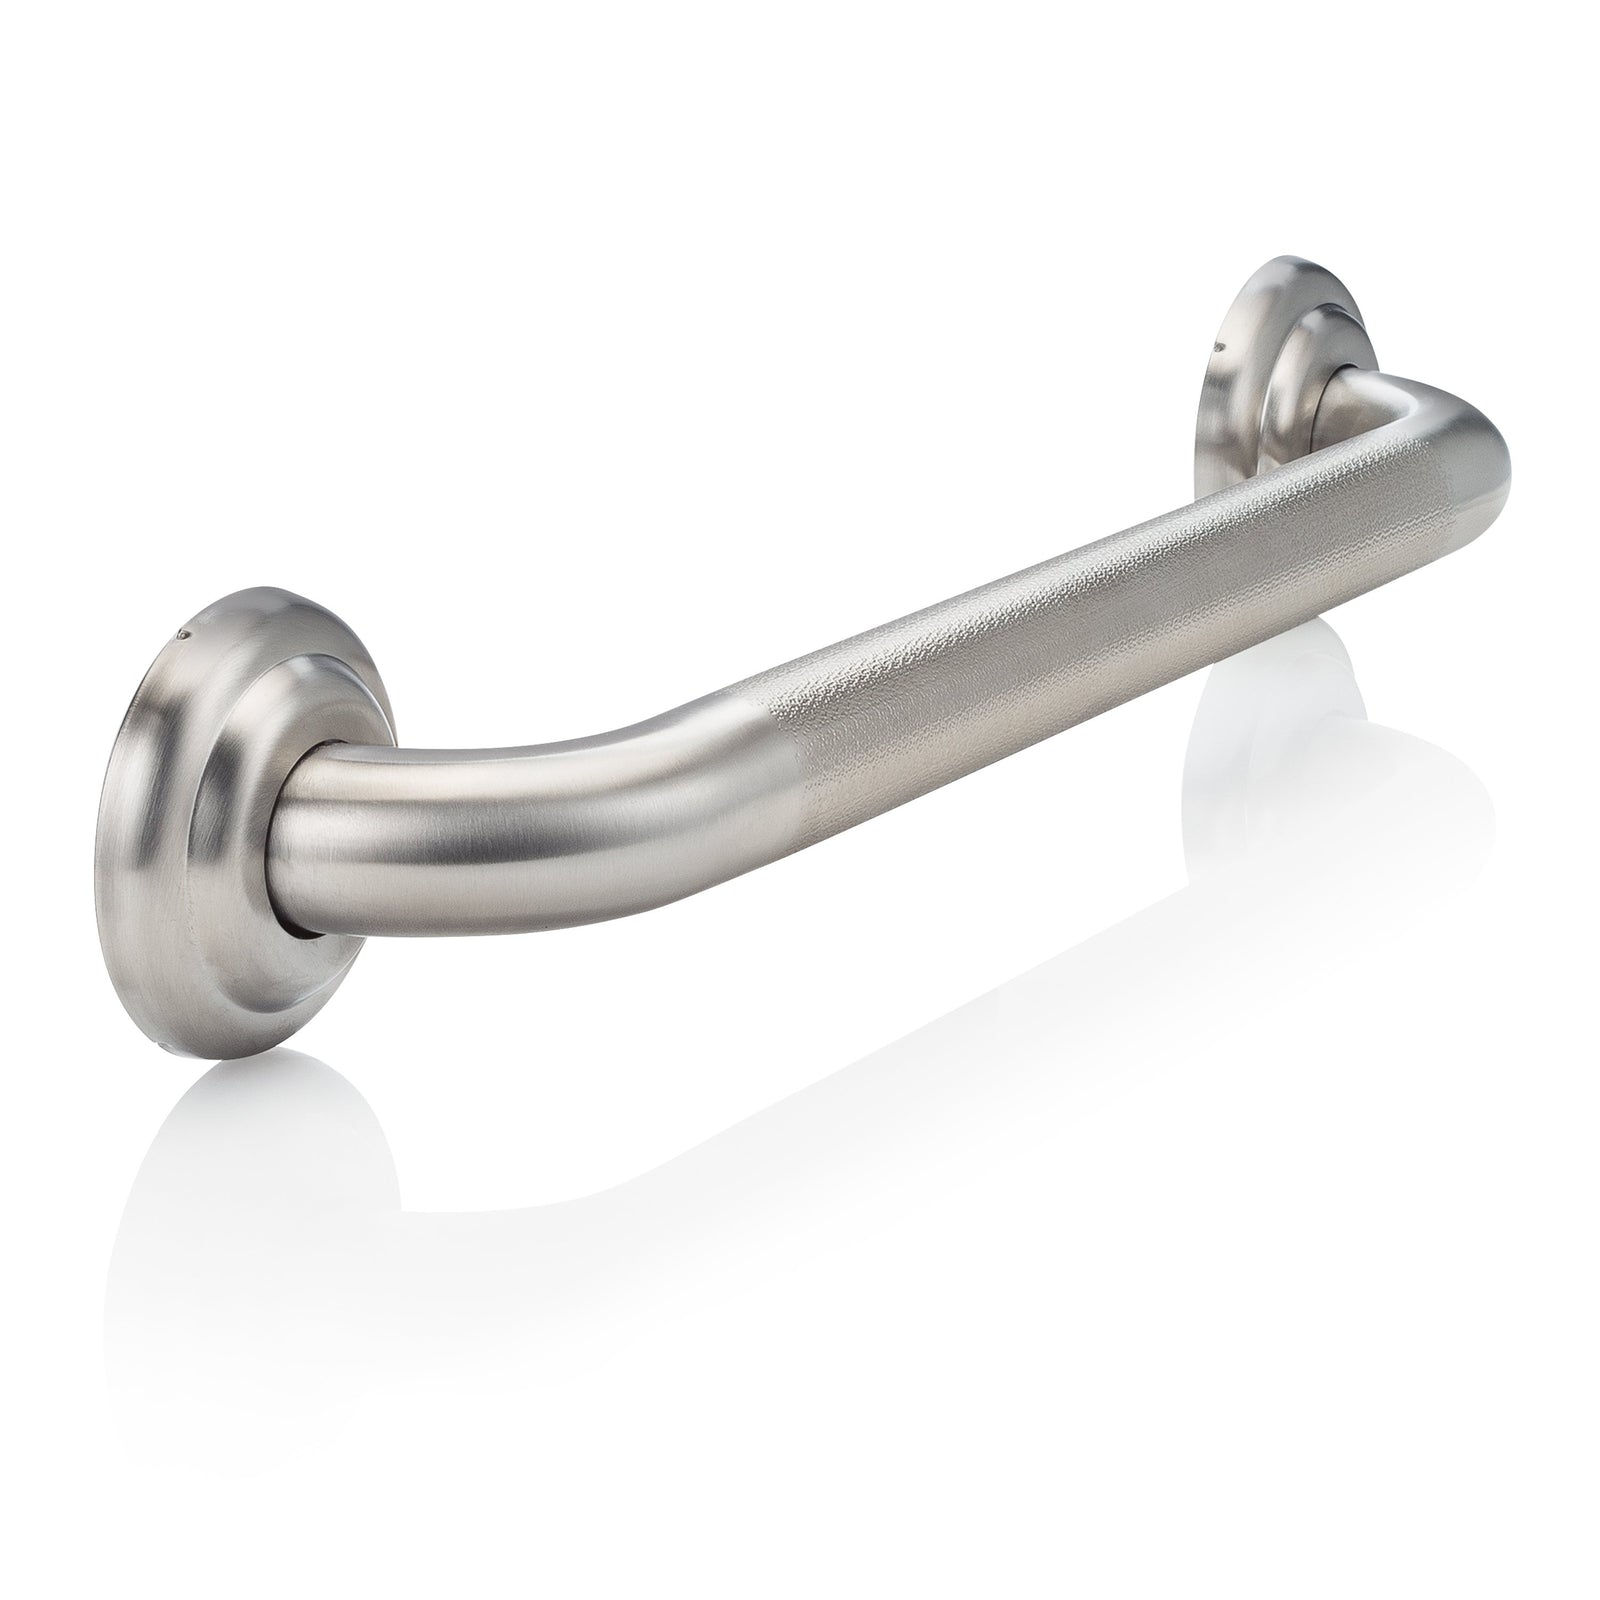
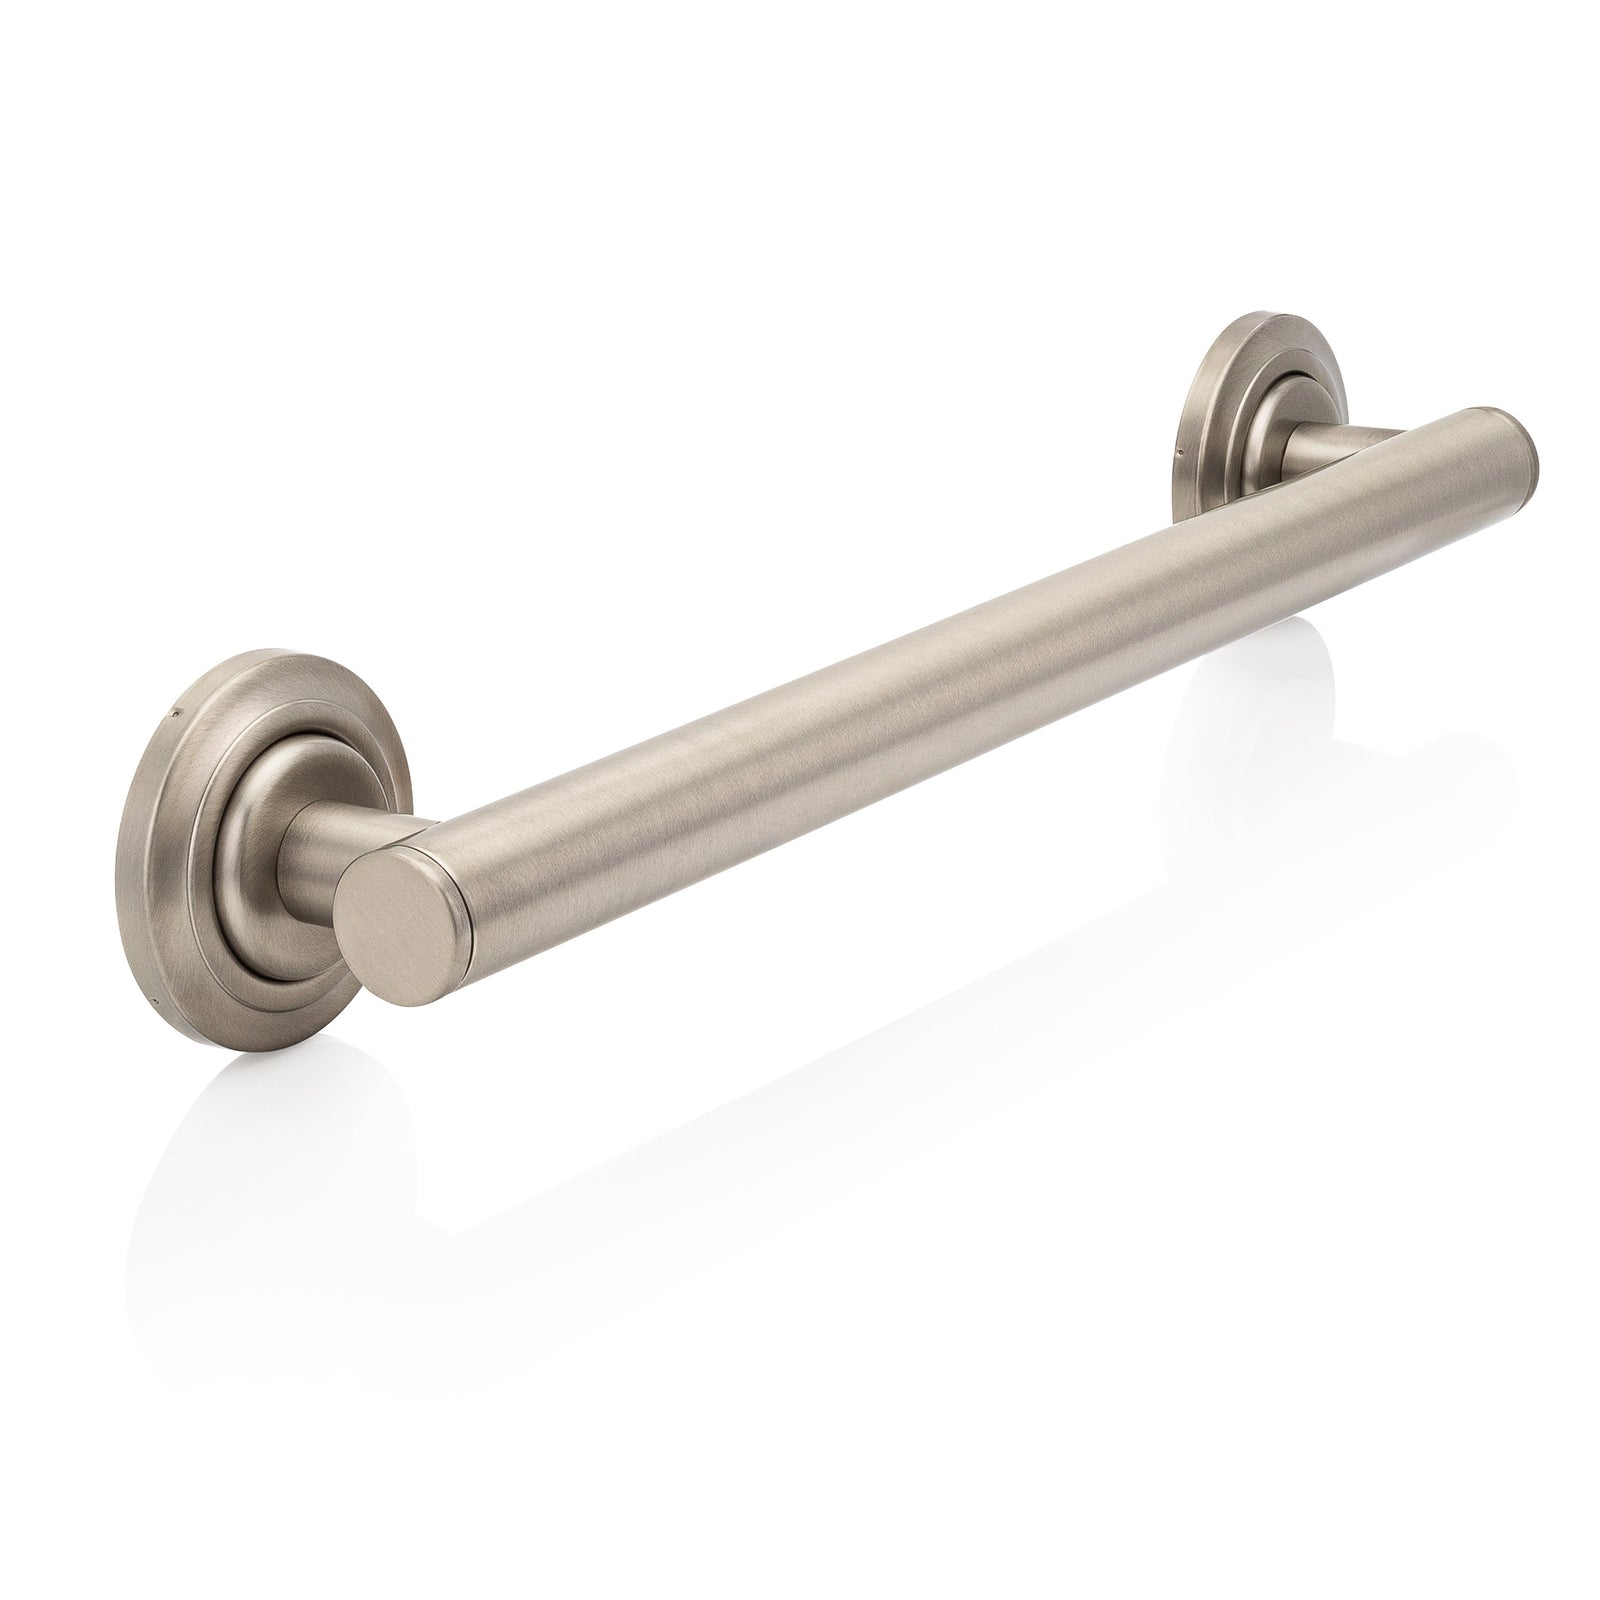
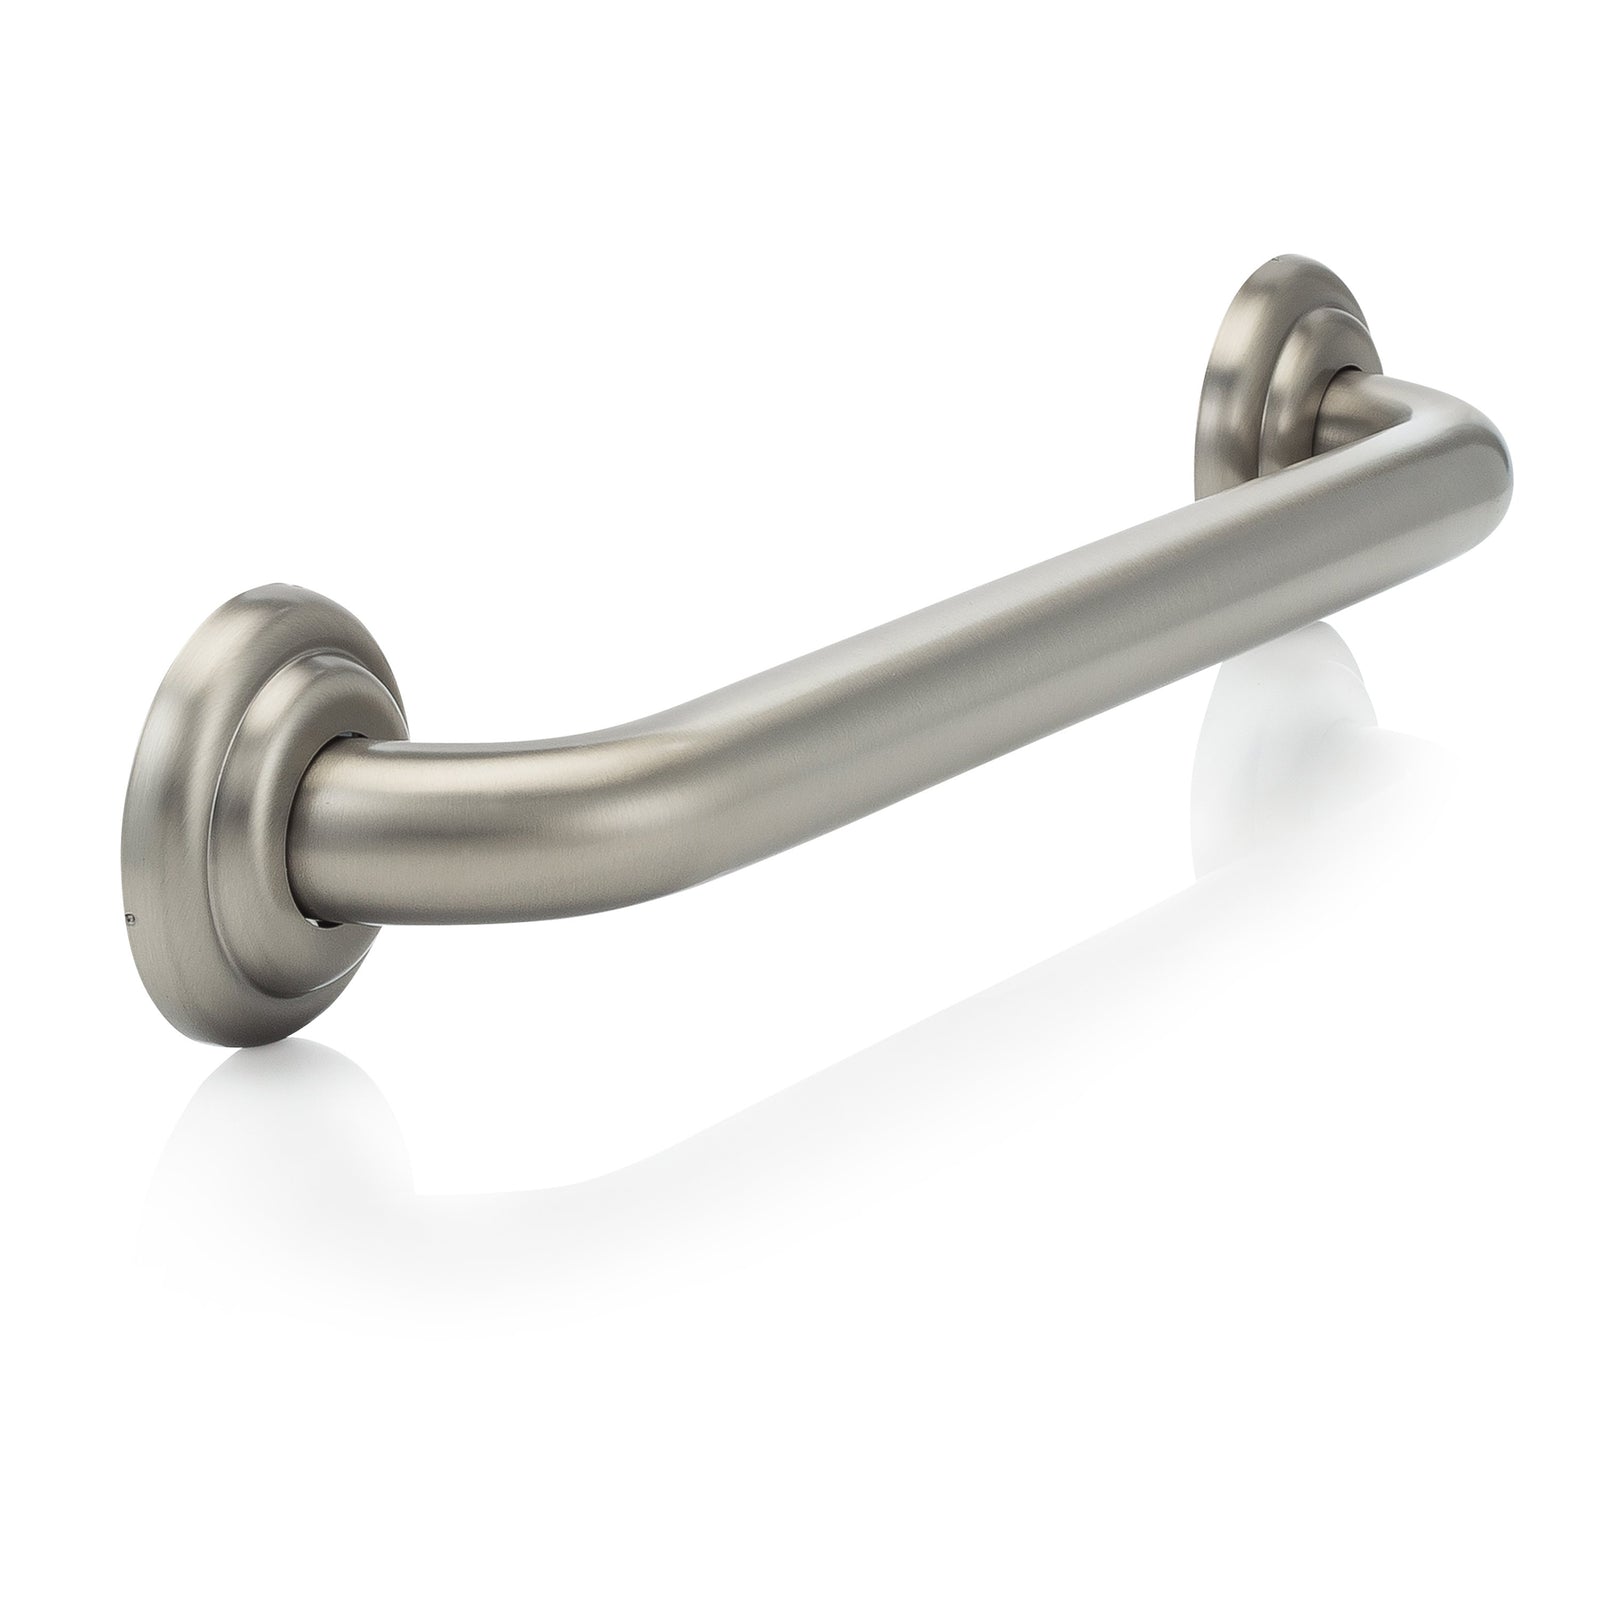
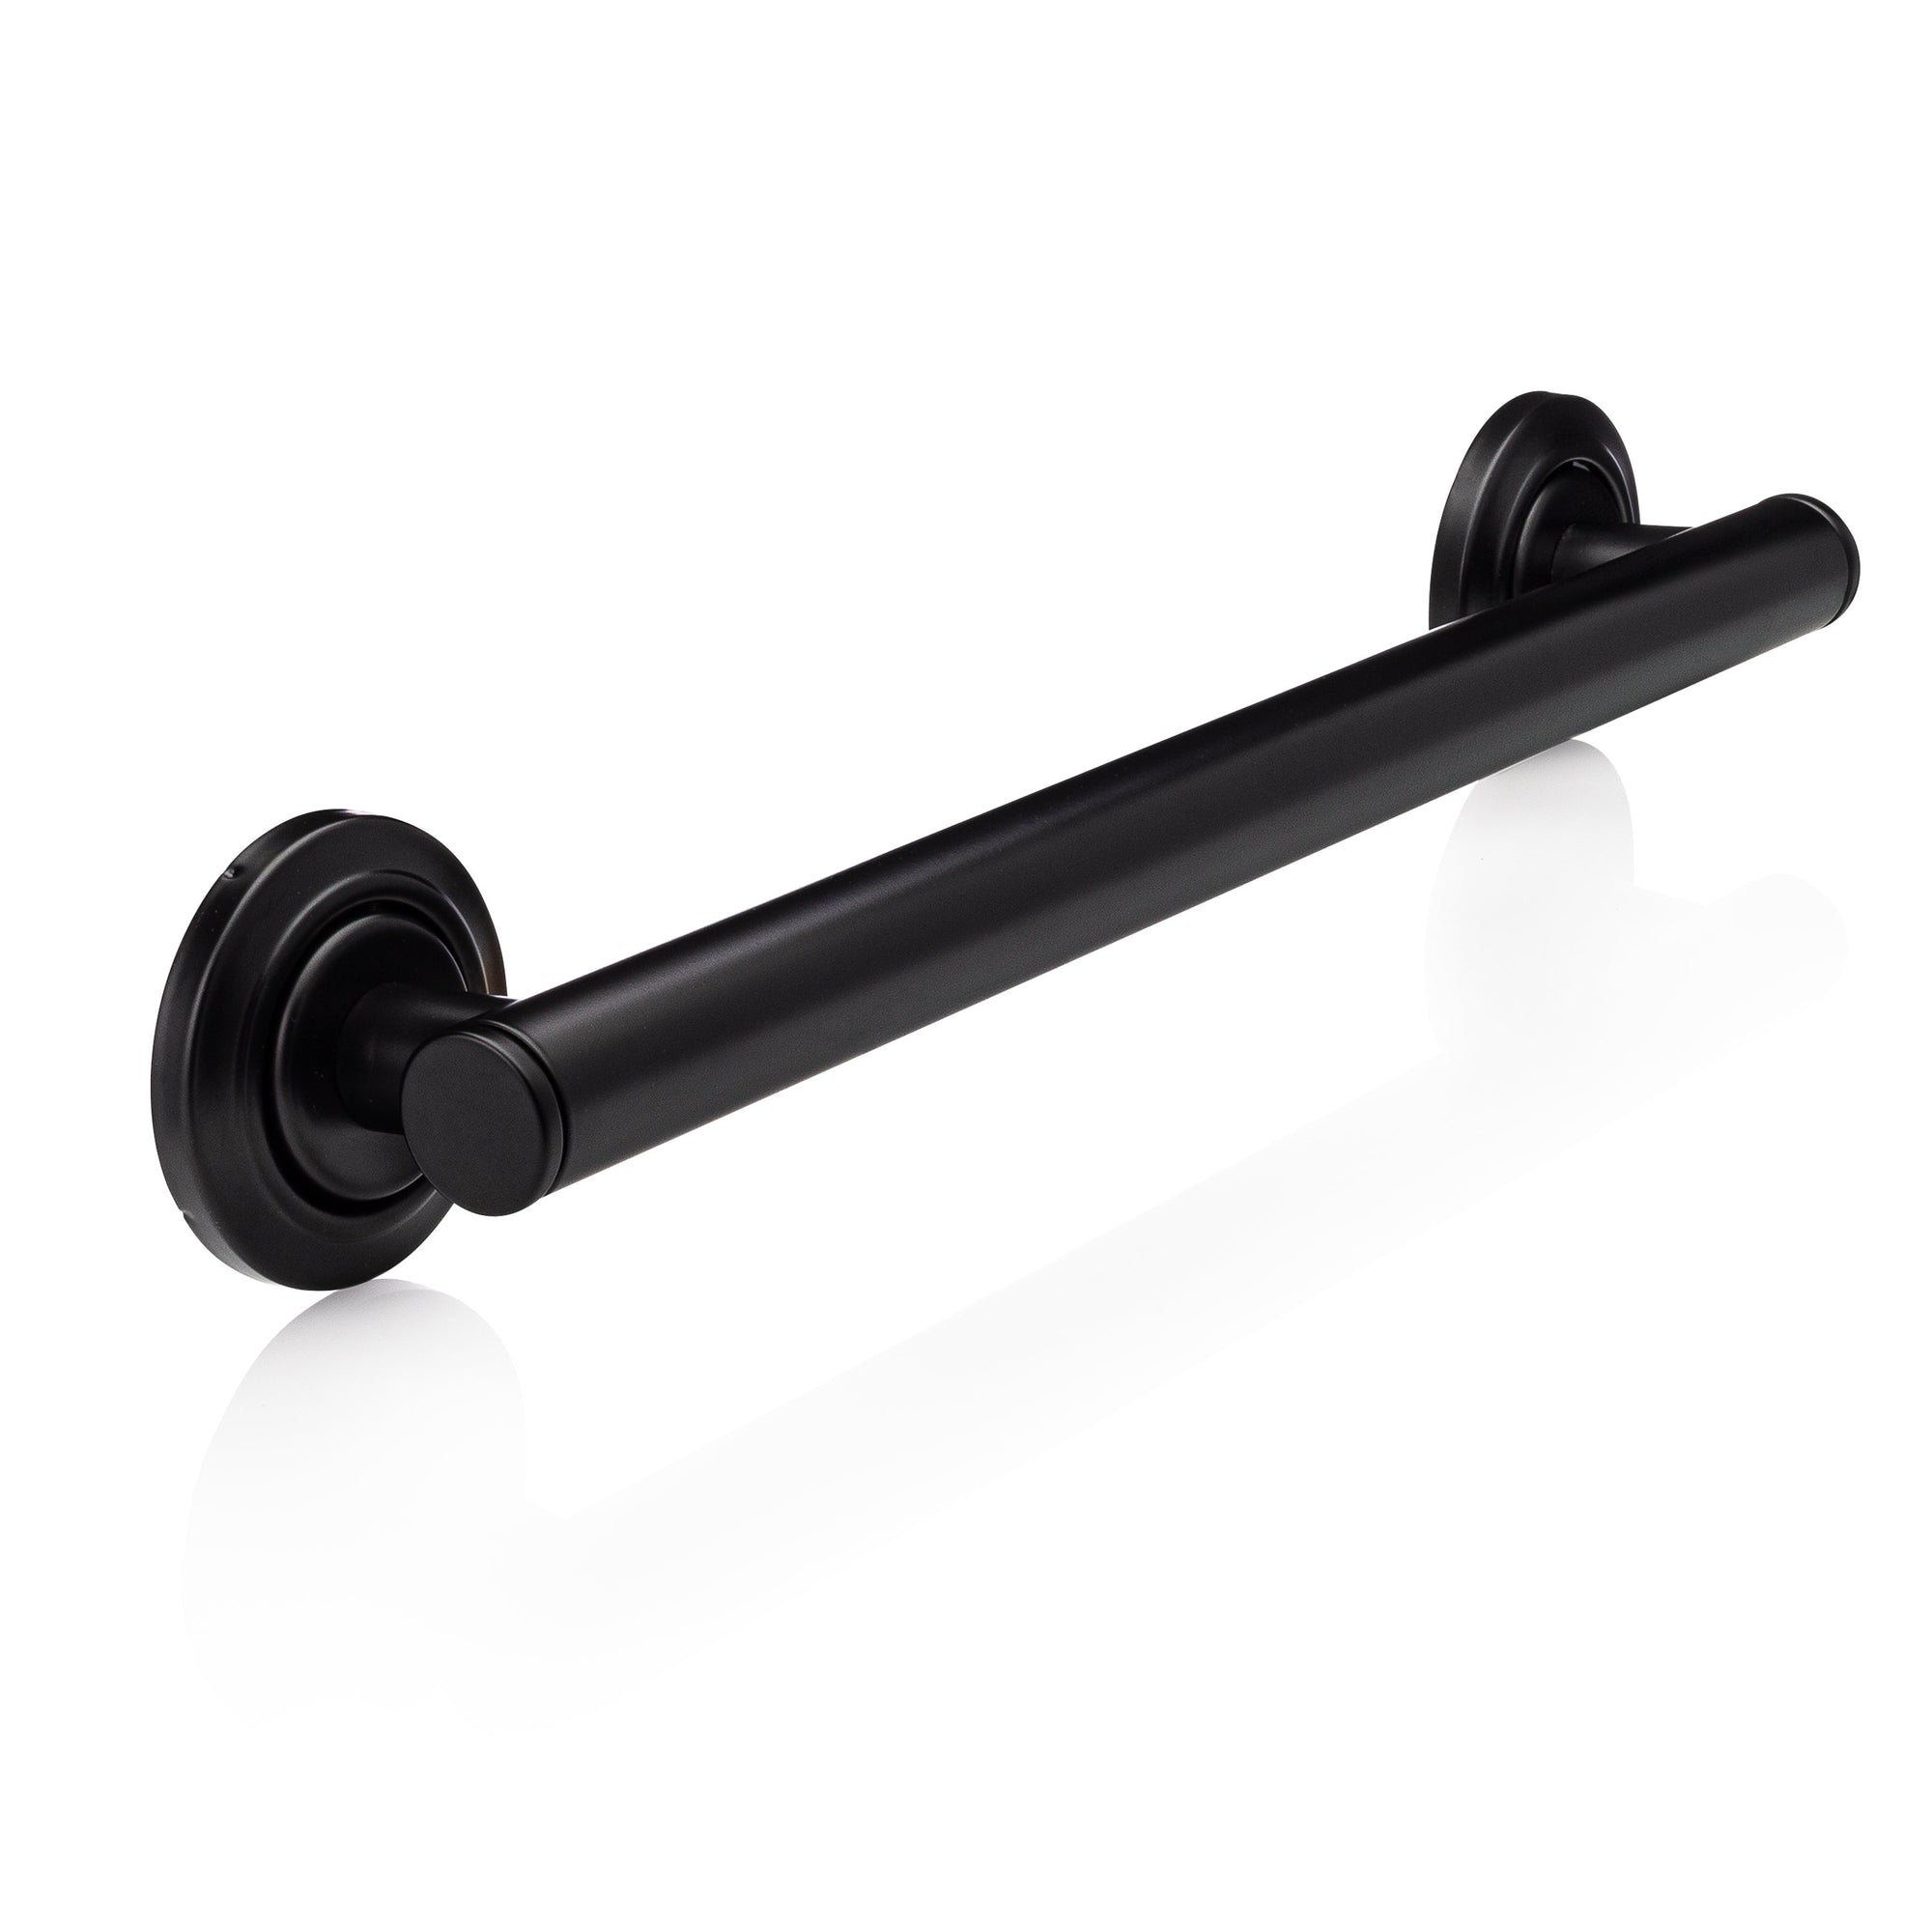
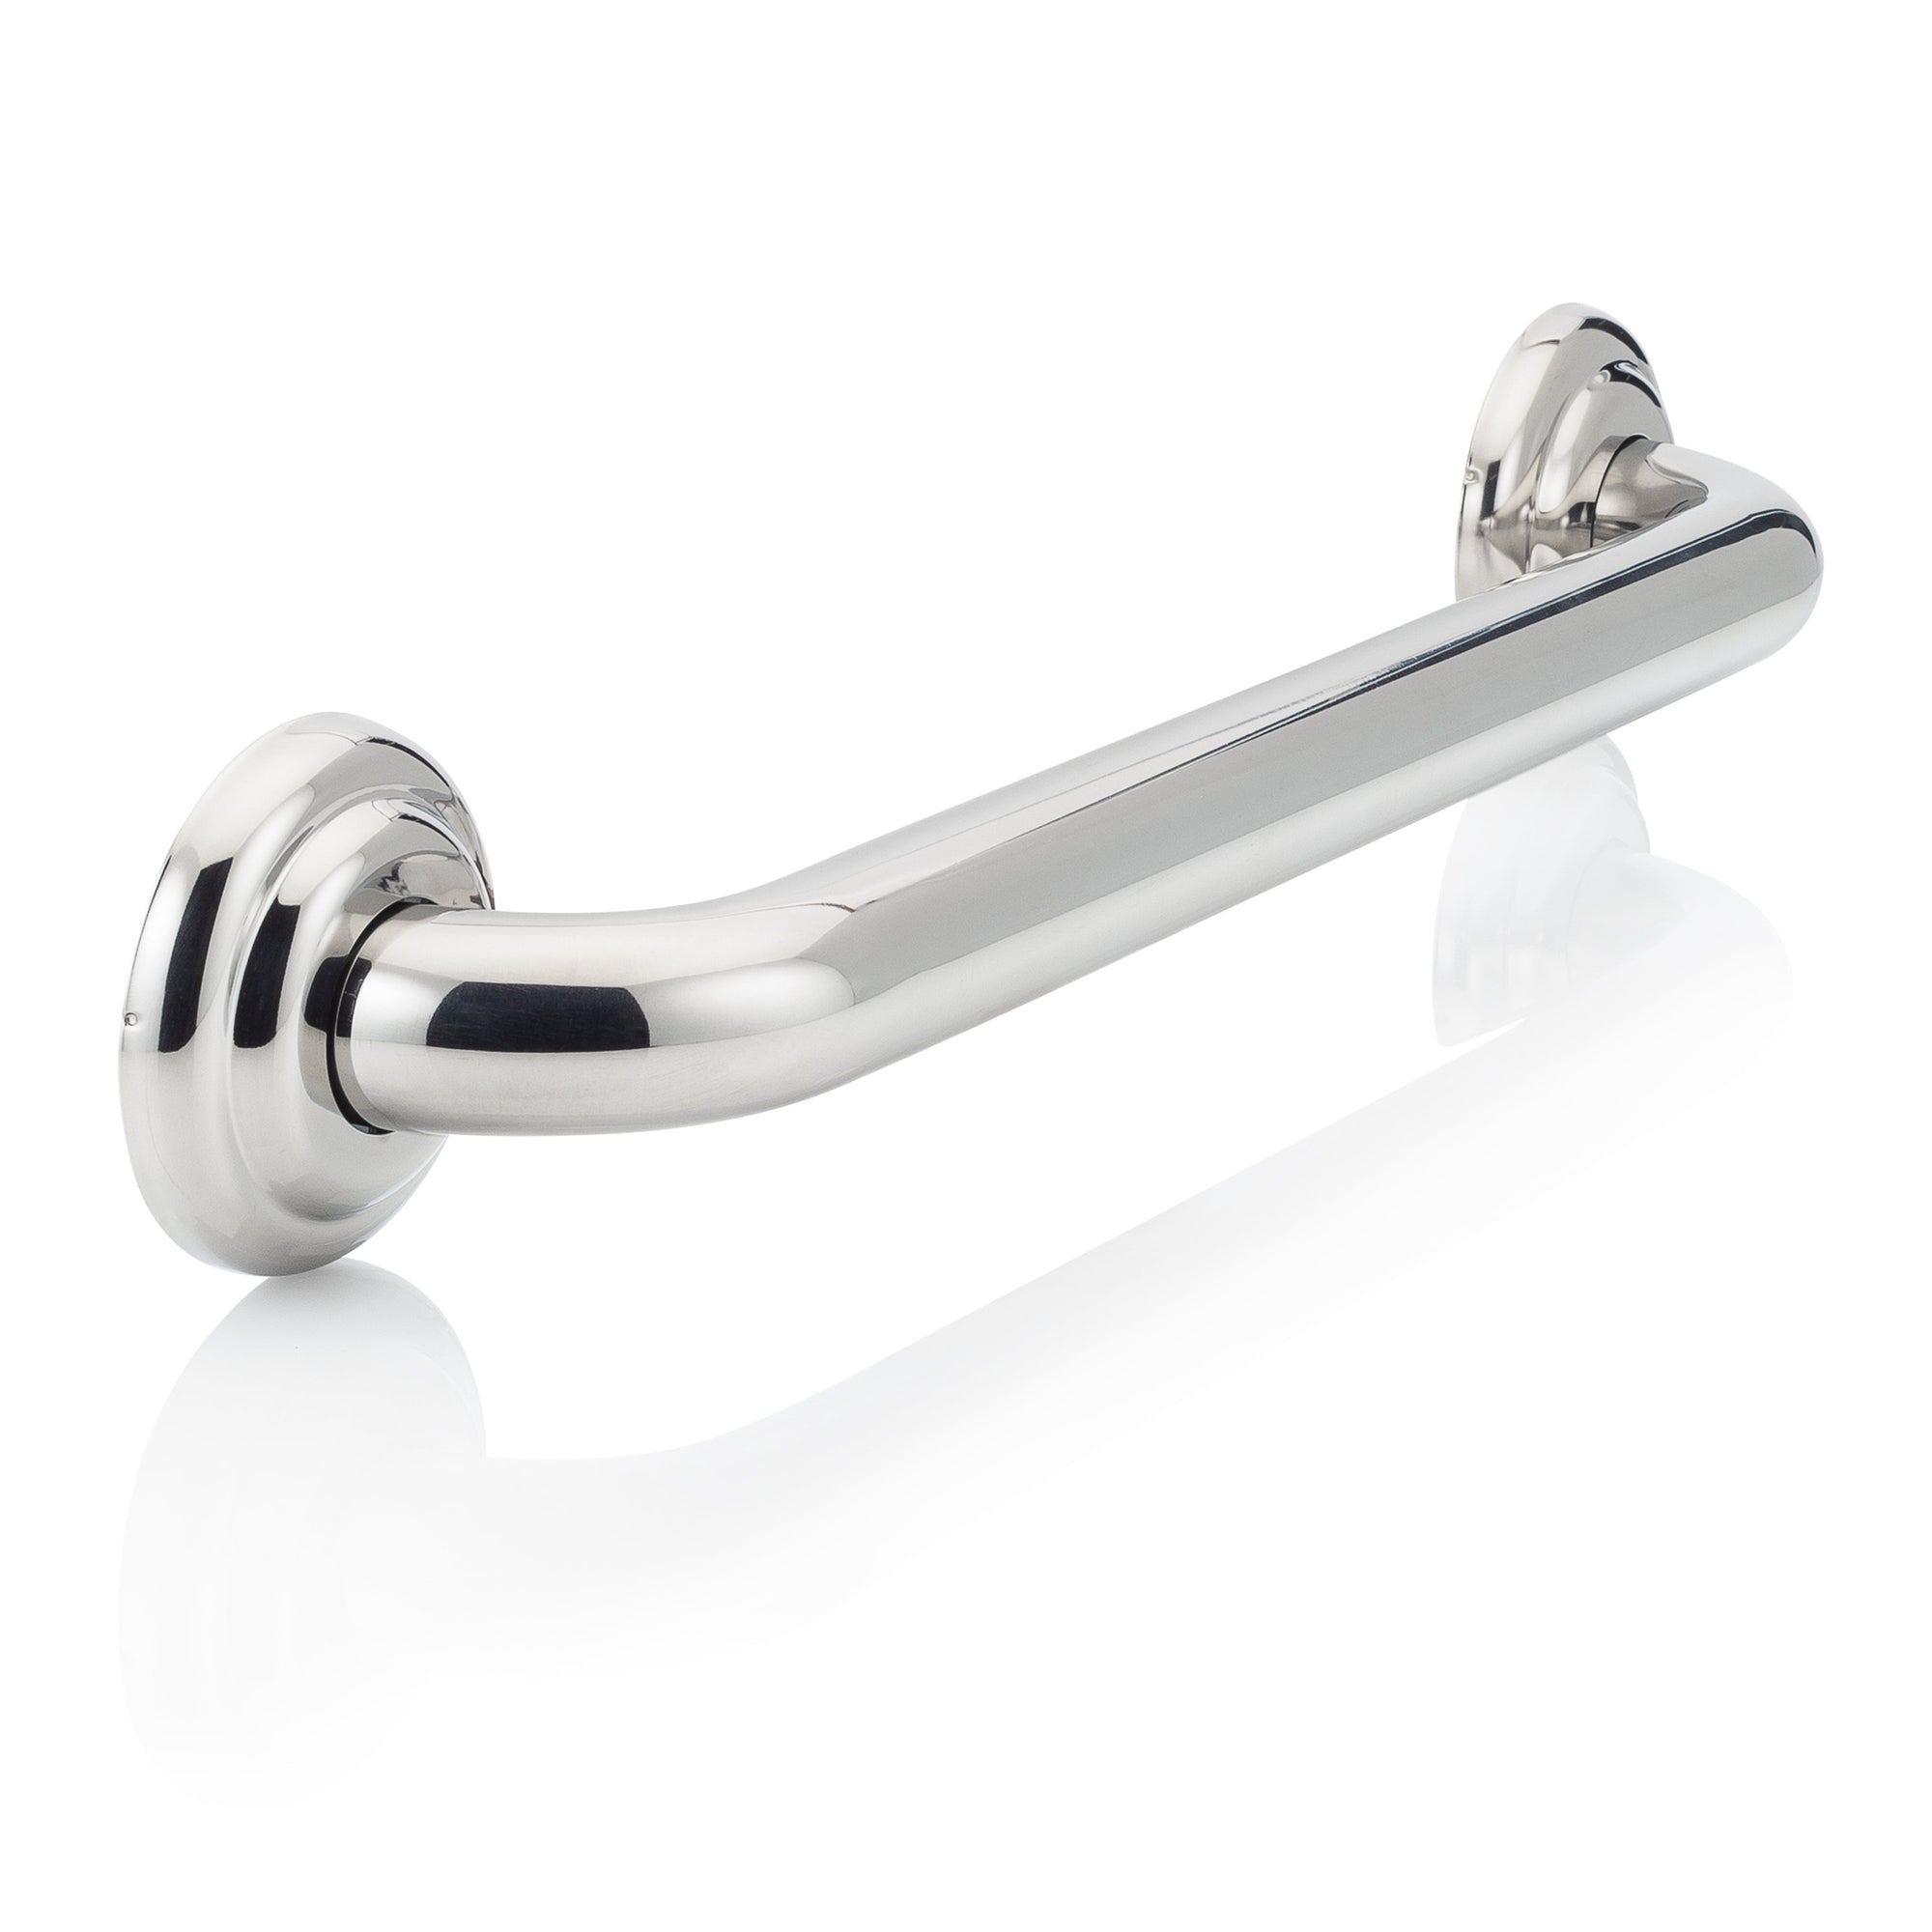
1. Grab Bar Diameter and Strength: According to the ADA, grab bars should have a diameter between 1.25 and 1.5 inches to provide a comfortable grip. Additionally, they must be able to support at least 250 pounds of weight to ensure durability and reliability.
2. Height: The height of grab bars plays a crucial role in accessibility. In bathrooms, grab bars should be installed at a height between 33 and 36 inches from the floor. For showers and bathtubs, grab bars should be placed between 33 and 36 inches above the floor, running horizontally along the wall.
3. Length: The ADA recommends that grab bars extend at least 18 inches beyond the edge of the fixture they are installed near. This ensures that individuals have enough space to reach and hold onto the grab bar securely.
4. Location: Grab bars should be strategically placed to provide maximum support and convenience. In bathrooms, grab bars should be installed near toilets, both on the side wall and the rear wall. For showers and bathtubs, grab bars should be placed on the back wall and the control end wall. In stairways and ramps, grab bars should be installed on both sides at a consistent height. In hallways and corridors, grab bars should be installed at regular intervals to support individuals walking along the path. In public spaces, grab bars should be provided near seating areas and ramps, facilitating easy movement for individuals with disabilities.
By adhering to these guidelines, you can ensure that your grab bars are installed correctly, promoting safety and accessibility for all.
Grab Bar Placement in Bathrooms
Bathrooms are one of the most critical areas where grab bars should be installed to ensure safety and accessibility. Let's explore the proper placement of grab bars in bathrooms:
1. Toilet Grab Bars: The ADA recommends installing grab bars on both sides of the toilet, with one grab bar mounted on the side wall and the other on the rear wall. These grab bars should be at least 42 inches long and extend 12 inches from the back wall.
2. Sink Grab Bars: Grab bars can also be installed near sinks to provide support and stability. These grab bars should be placed at a height between 33 and 36 inches above the floor and should extend at least 18 inches beyond the sink's edge.
3. Bathtub and Shower Grab Bars: Grab bars in bathtubs and showers are essential for individuals with limited mobility. Horizontal grab bars should be mounted on the back wall and the control end wall of the shower or bathtub. These grab bars should be placed between 33 and 36 inches above the floor and should extend at least 18 inches beyond the edge of the fixture.
By following these guidelines, you can create a bathroom that is safe, accessible, and accommodating for individuals with disabilities.
Grab Bar Placement in Showers and Bathtubs
In showers and bathtubs, proper grab bar placement is crucial to ensure safety and accessibility. Let's explore the guidelines for grab bar installation in these areas:
1. Horizontal Grab Bars: Horizontal grab bars should be mounted on the back wall and the control end wall of the shower or bathtub. These grab bars should be placed between 33 and 36 inches above the floor and should extend at least 18 inches beyond the edge of the fixture. This provides individuals with a secure and stable support while entering, exiting, or maneuvering within the shower or bathtub.
2. Vertical Grab Bars: Vertical grab bars can also be installed in showers and bathtubs to provide additional support. These grab bars should be placed at a height between 33 and 36 inches above the floor and should be securely mounted to withstand the weight and force applied by individuals.
By incorporating these grab bars in showers and bathtubs, you can significantly enhance safety and accessibility, allowing individuals with disabilities to bathe independently and with confidence.
Grab Bar Placement in Stairways and Ramps
Stairways and ramps are areas where individuals with disabilities require additional support and stability. Proper grab bar placement in these areas is essential to ensure safe and easy navigation. Let's explore the guidelines for grab bar placement in stairways and ramps:
1. Stairway Grab Bars: Grab bars should be installed on both sides of the stairway. These grab bars should be mounted at a consistent height between 34 and 38 inches above the nosing of the stair treads. By providing grab bars in stairways, individuals with disabilities can hold onto them for support while ascending or descending the stairs.
2. Ramp Grab Bars: Grab bars should be installed on both sides of ramps to provide stability and support. These grab bars should be mounted at a consistent height between 34 and 38 inches above the ramp surface. By incorporating grab bars in ramps, individuals with disabilities can navigate inclines and declines with confidence and ease.
By following these guidelines, you can ensure that stairways and ramps are safe, accessible, and accommodating for individuals with disabilities.
Grab Bar Placement in Hallways and Corridors
Hallways and corridors are areas where individuals with disabilities need support and stability while walking. Proper grab bar placement in these areas is crucial to promote accessibility. Let's explore the guidelines for grab bar placement in hallways and corridors:
1. Horizontal Grab Bars: Horizontal grab bars should be installed at regular intervals along the length of the hallway or corridor. These grab bars should be placed between 33 and 36 inches above the floor and should be securely mounted to withstand the force applied by individuals. By providing grab bars in hallways and corridors, individuals with disabilities can maintain balance and stability while walking.
2. Vertical Grab Bars: Vertical grab bars can also be installed in hallways and corridors to provide additional support. These grab bars should be placed at a height between 33 and 36 inches above the floor and should be securely mounted to withstand the weight and force applied by individuals.
By incorporating these grab bars in hallways and corridors, you can create a safe and accessible pathway for individuals with disabilities.
Grab Bar Placement in Public Spaces
In public spaces, grab bars play a vital role in ensuring safety and accessibility for all individuals. Let's explore the guidelines for grab bar placement in public spaces:
1. Seating Areas: Grab bars should be provided near seating areas to assist individuals with disabilities in sitting down and standing up. These grab bars should be placed at a height between 33 and 36 inches above the floor and should extend at least 18 inches beyond the edge of the seating area.
2. Ramps: Grab bars should be installed on both sides of ramps to provide stability and support. These grab bars should be mounted at a consistent height between 34 and 38 inches above the ramp surface. By incorporating grab bars in ramps, individuals with disabilities can navigate inclines and declines with confidence and ease.
By adhering to these guidelines, public spaces can become more inclusive, accommodating individuals with disabilities and promoting their safety and accessibility.
Tips for Installing and Maintaining Grab Bars
Installing and maintaining grab bars is crucial to ensure their effectiveness and longevity. Here are some tips to guide you:
1. Professional Installation: It is recommended to hire a professional contractor or installer experienced in ADA guidelines to ensure proper installation of grab bars. They will have the knowledge and expertise to install the grab bars correctly, adhering to the required heights, lengths, and locations.
2. Secure Mounting: Grab bars should be securely mounted to the wall or structure to ensure stability. Use appropriate hardware and follow the manufacturer's instructions for installation. Regularly check the grab bars for any signs of loosening and tighten if necessary.
3. Regular Maintenance: Inspect grab bars periodically for any signs of wear or damage. Replace grab bars that show signs of rust, corrosion, or other forms of degradation. Clean grab bars regularly with mild soap and water to remove any dirt or residue.
By following these tips, you can ensure that grab bars are installed correctly and maintained properly, promoting safety and accessibility for individuals with disabilities.
Conclusion: Promoting Safety and Accessibility with Proper Grab Bar Placement
In conclusion, grab bar placement plays a crucial role in ensuring safety and accessibility for individuals with disabilities. By adhering to the guidelines set forth by the ADA, you can create spaces that are inclusive and accommodating, allowing individuals with disabilities to navigate with confidence and independence. From bathrooms to showers, stairways to hallways, proper grab bar placement enhances the overall experience for everyone. So, make safety and accessibility a priority by installing grab bars in accordance with ADA guidelines. Together, let's create spaces that are safe, accessible, and welcoming for all individuals, regardless of their physical abilities.


Leave a comment (all fields required)